The functions of shaders are different from textures in that they are necessary for any textures to be applied to a model. There always have to be two layers to any successful texture mapping. Textures are bound to shaders, which in turn are bound to the specific model. Shaders are colors. There are shading networks which were vaguely discussed and which I will find out more about later. Textures can change and adapt in many ways based on the options of attributes, such as ambient color and transparency, etc. These attributes are called channels.
Steps to texturing a model:
2. Double click on the material and a list of attributes will appear, which can be changed.
3. Click on the checker box on the right side of a specific attribute to choose a texture (many options-2D for this example).
4. Keep the one of the top settings set to Normal.
5. Tweak the attributes provided like color and contrast, etc. A note section is also provided for people in a groups who need to communicate.
6. Put texture on model (3 ways):
-- Use middle mouse and drag over the model from the Work Area of the Hypershade window.
-- Use right click --- Assign material to Selection.
-- Use right click --- Material --- Assign existing material ---Texture name.
7. Turn texturing on with hot keys (or texture button which I already knew about).
-Hot keys
4: Wireframe
5 : Shaded
6 : Texture
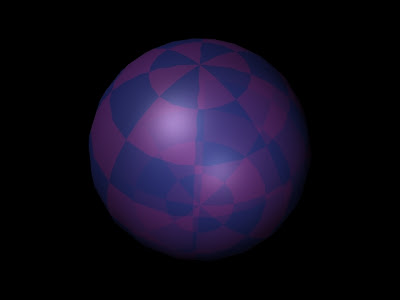
I created this Blinn texture with the procedure described above. I changed the some of the attributes associated with it.
I watched this tutorial:

No comments:
Post a Comment